

The crisp air of autumn brings with it one of nature’s most beloved gifts: the apple harvest. Whether you’re fortunate enough to have your own apple trees heavy with fruit or you’ve discovered an irresistible deal at the local orchard, finding yourself with bushels of apples presents both an opportunity and a challenge. How do you transform this seasonal abundance into year-round enjoyment while preventing waste and maximizing your investment?
The answer lies in mastering the time-honored arts of food preservation. With the right techniques, those perfect autumn apples can grace your table throughout the winter months and beyond, providing nutritious ingredients for everything from morning smoothies to holiday pies. Let’s explore the various methods of preserving apples, each offering unique advantages and flavors.
Understanding Apple Storage Basics
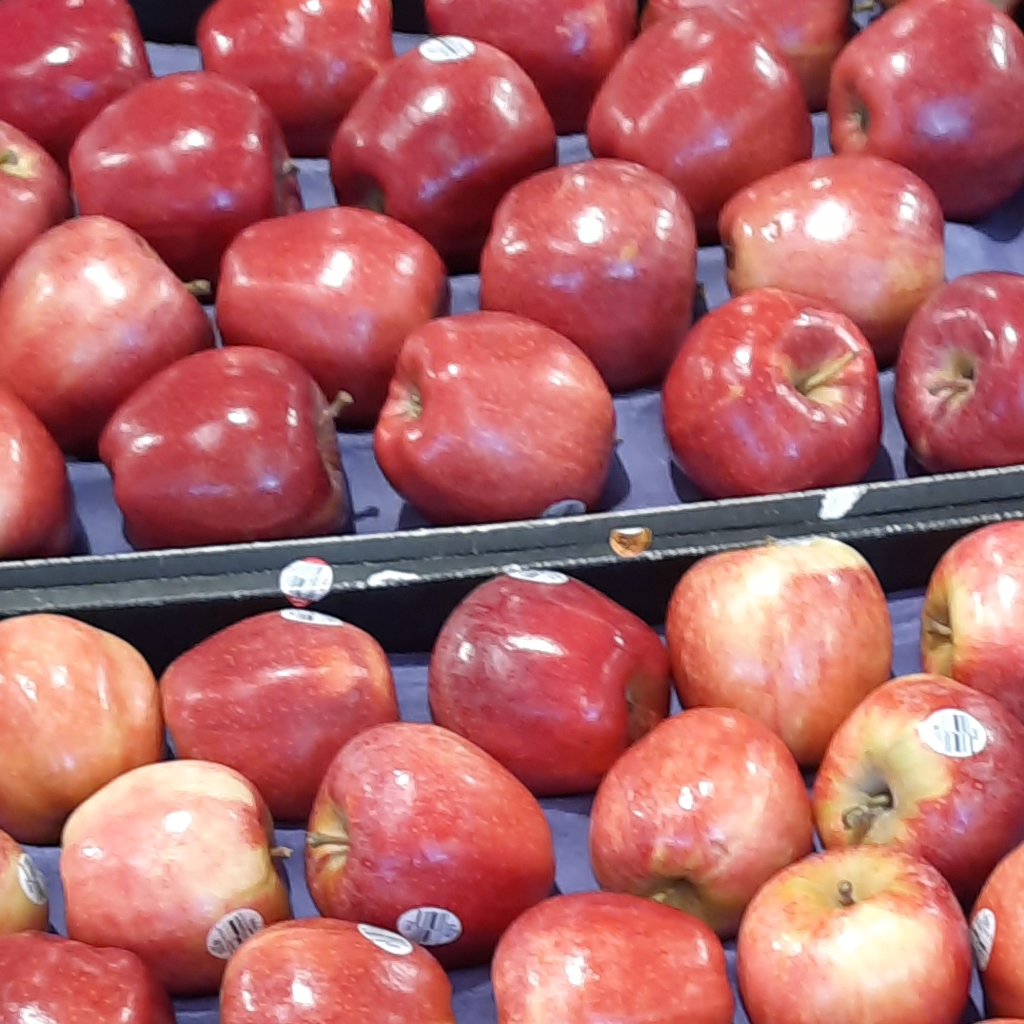
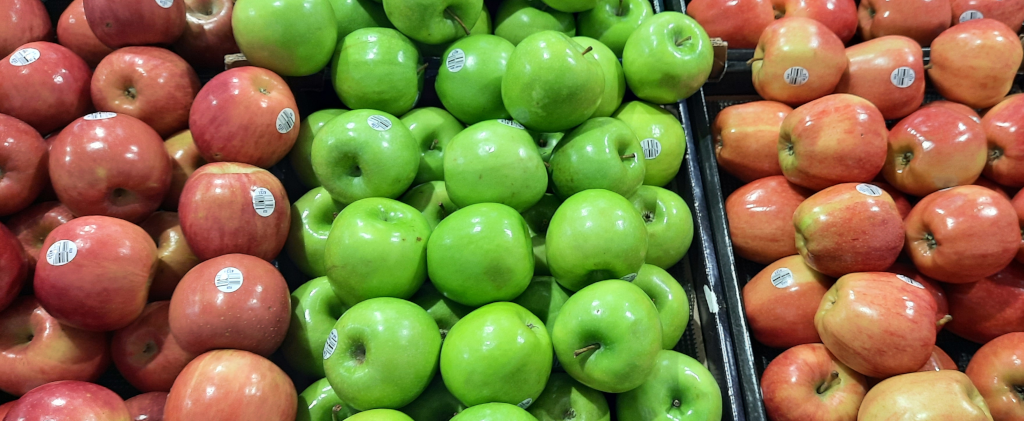 Before diving into preservation methods, it’s essential to understand that not all apples are created equal when it comes to storage. Some varieties, like Honeycrisp and Gala, are best enjoyed fresh and don’t store as well, while others like Granny Smith, Fuji, and Northern Spy can maintain their quality for months under proper conditions.
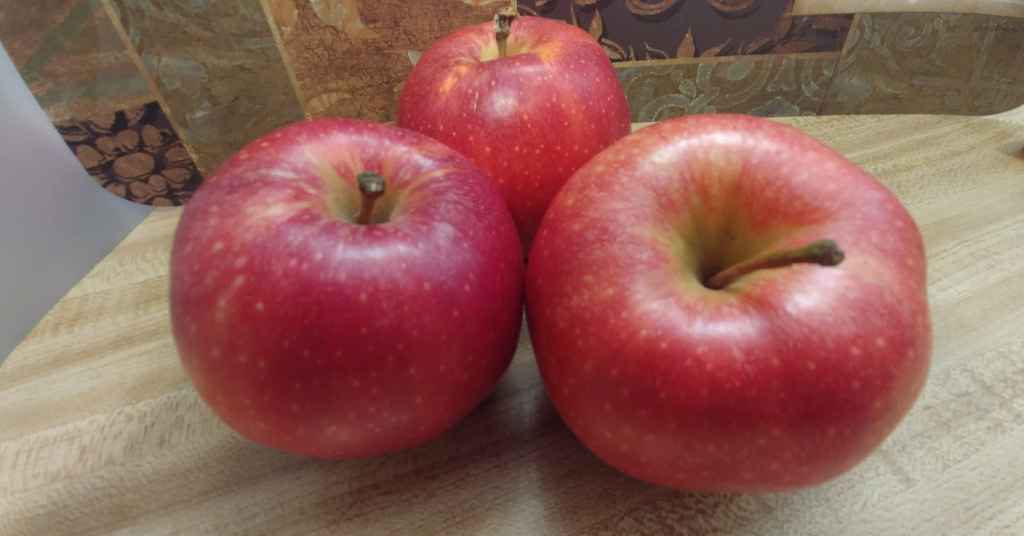
Fresh apple storage begins with selecting unblemished fruit and storing them in your refrigerator’s crisper drawer. Properly stored apples can last 4-6 weeks in the refrigerator, with some hardy varieties lasting even longer. The key is maintaining consistent temperature and humidity while allowing for air circulation. Never store apples in sealed plastic bags in the refrigerator, as this traps moisture and accelerates spoilage.
Refrigeration: The Foundation of Apple Preservation
Your refrigerator is your first line of defense against apple waste. For optimal storage, keep apples at 32-35°F with high humidity (90-95%). Place them in perforated plastic bags or in the crisper drawer, and check regularly for any signs of spoilage. Remember the old saying: “One bad apple spoils the bunch” – it’s scientifically accurate, as rotting apples release ethylene gas that accelerates ripening in nearby fruit.
For longer-term refrigerator storage, wrap individual apples in newspaper or place them in separate compartments. This prevents the spread of spoilage and can extend storage life to 2-3 months for suitable varieties.
Freezing Apples: Convenience Meets Nutrition
Freezing offers perhaps the most straightforward preservation method, though it does change the texture of the fruit. Frozen apples work beautifully in smoothies, baked goods, and cooked preparations, though they won’t maintain the crisp texture needed for fresh eating.
Preparing Apples for Freezing
Start with firm, ripe apples. Wash, core, and slice them into your desired size – typically 1/4 to 1/2 inch thick works well. To prevent browning, treat the slices with an anti-browning solution. Mix 1 tablespoon of lemon juice with 1 cup of water, or use a commercial anti-browning product following package directions. Acidulated water works well too.
Flash Freezing Method
For the best results, use the flash-freezing technique. Arrange prepared apple slices on a parchment-lined baking sheet, ensuring they don’t touch each other. Place in the freezer for 2-3 hours until completely frozen, then transfer to freezer-safe bags or containers. This prevents the slices from freezing together in clumps.
Storage and Usage
Properly frozen apples maintain their quality for 8-12 months. Label containers with the date and variety. Frozen apples can go directly into smoothies, or thaw them for 20-30 minutes before using in baking recipes. The texture will be softer than fresh, but the flavor remains excellent for cooked applications.
Canning Apples: Shelf-Stable Perfection
Canning transforms apples into shelf-stable products that can last 1-2 years when properly processed. You can preserve apple slices or create homemade applesauce, both requiring different approaches.
Canning Apple Slices
 For canned apple slices, you’ll need a water bath canner and proper canning jars. Start with 2-3 pounds of apples per quart jar. Prepare a light syrup by combining 2 cups sugar with 4 cups water, or use apple juice for a more natural sweetener.
Wash and slice apples, removing cores but leaving peels if desired (they add nutrition and color). To prevent browning, work with small batches and immediately place slices in the anti-browning solution mentioned earlier.
Pack the prepared apples into sterilized jars, leaving 1/2 inch headspace. Pour hot syrup over the apples, maintaining the headspace. Remove air bubbles by gently tapping the jar or using a bubble tool. Wipe jar rims clean, apply lids, and process in a boiling water bath for 20 minutes (adjust for altitude as needed).
Homemade Applesauce Canning
Applesauce offers more flexibility in apple variety usage, as softer or slightly imperfect apples work perfectly. For each batch, use about 3 pounds of apples. Cook them with minimal water until soft, then pass through a food mill or blend to desired consistency.
Season lightly with cinnamon, nutmeg, or a touch of lemon juice if desired, but avoid adding butter or cream if canning for shelf storage. Fill sterilized jars leaving 1/4 inch headspace, process in a boiling water bath for 15 minutes for pints or 20 minutes for quarts.
Drying Apples: Concentrated Flavor and Nutrition
Dried apples make excellent snacks and can be rehydrated for baking use. You can dry apples using a dehydrator, oven, or even air-drying in suitable climates.
Dehydrator Method
For consistent results, a food dehydrator is ideal. Slice apples 1/4 inch thick, treat with anti-browning solution, and arrange on dehydrator trays without overlapping. Set temperature to 135°F and dry for 6-12 hours until leathery but still pliable.
Oven Drying
If you don’t have a dehydrator, your oven can work. Set it to its lowest temperature (ideally 170°F or lower). Arrange treated apple slices on parchment-lined baking sheets and prop the oven door slightly open for air circulation. This process takes 6-10 hours, requiring periodic checking.
Storage of Dried Apples
Properly dried apples should have no visible moisture and feel leathery. Cool completely before storing in airtight containers. They’ll keep 6-12 months at room temperature, or longer if refrigerated or frozen.
Choosing the Right Method for Your Needs
Each preservation method serves different purposes. Freezing works best when you plan to use apples in smoothies, baking, or cooking. Canning provides shelf-stable convenience and works well for gift-giving. Drying creates portable snacks and ingredients that don’t require refrigeration.
Consider your family’s eating habits, available storage space, and intended uses when choosing preservation methods. Many people find success using a combination approach – freezing some apples for immediate winter baking needs, canning applesauce for quick meals, and drying others for healthy snacks.
Maximizing Your Apple Investment
 By mastering these preservation techniques, you transform seasonal abundance into year-round nutrition and flavor. The initial time investment pays dividends in reduced grocery bills, less food waste, and the satisfaction of enjoying homegrown or locally-sourced apples throughout the year.
Start with small batches to perfect your technique, then scale up as you gain confidence. Each method offers its own rewards, from the convenience of frozen apple slices ready for morning smoothies to the pride of homemade applesauce that tastes infinitely better than store-bought versions.
The art of food preservation connects us to generations of home cooks who understood the value of capturing seasonal bounty. In our modern world, these traditional skills offer both practical benefits and a deeper connection to our food sources, making every preserved apple a small victory against waste and a step toward more sustainable living.